Drop In Formula Billing works very much like Automated Formula Billing except that, rather than charging all families at once, only the selected family receives a charge. This way the charge may be posted at the time a child is picked up which is ideal for drop in care.
Set Up Drop In Formula Billing
Use of formulas requires the Attendance Tracker module. Billing Formulas must be set up first in the System Configuration.
- Look up a Family and click once on the name of the child to select them.
- With the child’s name selected click the Billing Box icon (money bag) on the child toolbar.
- In the child’s Billing Box click the Billing Formulas tab.
- Select the scheduled time frame during which this item will apply (top left). *Choose Standard Billing (all Schedules) for an hourly or daily rate that applies all the time, regardless of the time frame. For a rate that varies, based on the time frame of the schedule to which the child is assigned, choose a “Current” or “Future” schedule. For example, your Summer and School Year rates may be different.
- Click the New Formula button.
- Select the Ledger Card of the person responsible for payment of this item. Typically the Primary Payer (parent).
- Choose a Description like “Tuition Drop In”, “Tuition Toddlers", etc.
- Choose the Formula Name used to determine the amount of this item (hourly rate, half/full day, etc).
- If the formula has Variables such as the rate, etc. enter the appropriate number(s) in the Value column.
- Enter a Comment if needed to describe this item. It’s not necessary to put the child’s name in the comment box. You’ll have the option to automatically include their name when you run Drop In Formula Billing.
- Click Save > Exit to return to the child’s Billing Box. Continue adding items as needed then click Exit.
Run Drop In Formula Billing
1. Look Up the family you wish to charge.
2. From the Functions menu select Family Accounting > Drop In Billing Procedures > Formula Billing.
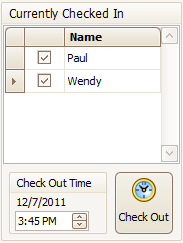
3. If the child for whom you are billing is still checked in, place a check next to their name, adjust the Check Out Time (if needed) and click Check Out.
4. Choose a Post Date. This is the date the transaction will be recorded on the Account Ledger Card. If you are billing for today’s drop in charges then choose today’s date.
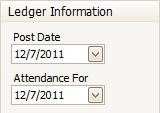
5. Select an “Attendance For” date. This is the day the Billing Formula will use to determine the amount to charge.
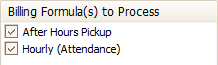
6. Mark the Billing Formula(s) you wish to process at this time like “Hourly (Attendance)”, “After Hours Pickup”, “Drop In”, etc. The only formulas shown will be those assigned to the Billing Boxes of children in this family.
7. Click Next.
8. Select the items you wish to process or place a check in the column header to select all items.
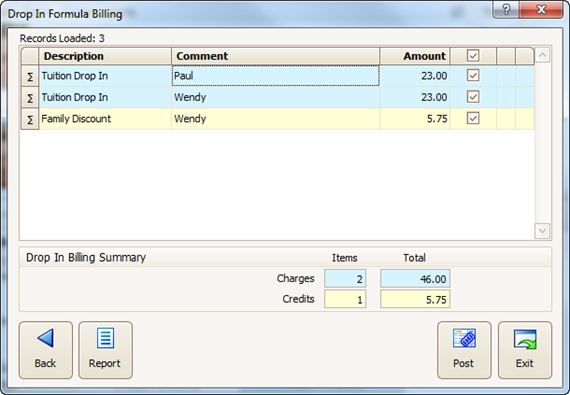
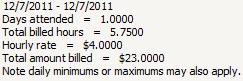
Hint: Dbl-click anywhere on a line to see a summary of how the charge was determined.
9. Click Post, then Exit.