Navigation and Access
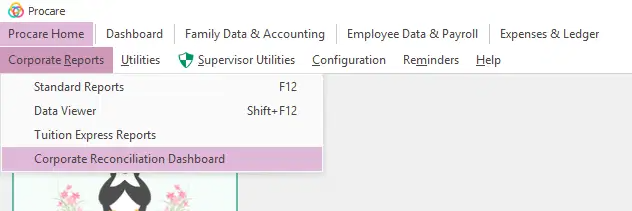
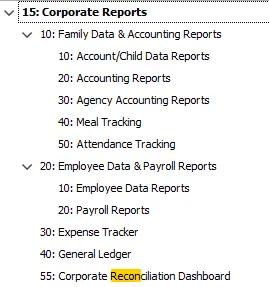
To access the Corporate Reconciliation Dashboard, navigate through the main menu by selecting Home → Corporate Reports → Corporate Reconciliation Dashboard.
Access to the Corporate Reconciliation Dashboard is configured under Corporate Reports>Corporate Reconciliation Dashboard. Read more about User Groups and Limits here.
School Selection
Upon opening the dashboard, you will see a header displaying the user account you are currently viewing the report as, along with your assigned level of access.
From the School Selection screen, you can configure the following filters before pulling report data:
Date Range – You may select a date range spanning up to one full month.
School Filter – You can choose one or more specific schools for which you'd like to view missing transaction information, or select all schools at once to pull a comprehensive report. Keep in mind that the more schools you include, the longer the report may take to load.
Warning Threshold – A warning message will appear if you select a large number of schools at once. Note: this threshold is expected to be increased in a future release.

Reconciliation Dashboard
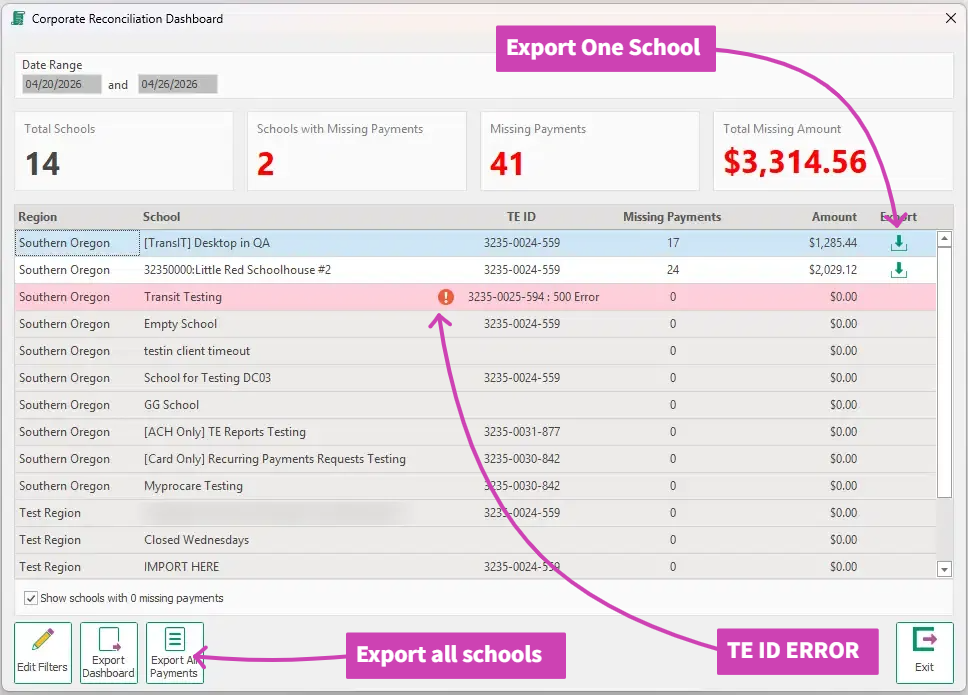
Once the report loads, the top-level summary displays:
Schools with missing payments – the total count of schools that have at least one missing transaction.
Total number of missing payments – the aggregate count of all missing payment records across the selected schools.
Total missing dollar amount – the combined dollar value of all missing transactions.
Each row in the dashboard represents an individual school and displays the same set of summary metrics (missing payment count and missing dollar amount) for that school. If a school has a TE ID error, that error will be displayed in place of the standard data for that row.
Actions and Reports
From the Reconciliation Dashboard, you have the following available actions:
Edit Filters – select to return to the School Selection screen and adjust your date range or school selections.
Export the Dashboard View – export a summary-level view of the dashboard, as shown on the screen.
Export One School's Transactions – download a transaction-level export for a single selected school.
Export All Schools' Transactions – download a combined transaction-level export across all schools currently displayed.
The export shows the following fields:
Export All Payments: The export will only show transactions for centers where there were missing transactions.
Region
School
TE ID / MID
Authorization date
Cardholder Name
Authorization code
Amount
RetRef
Payment Method
