Navigation Changes
The Leads and Registration sections are now under Enrollment.
Build an online registration form for parents/guardians to fill out in order to be placed on a waitlist or accepted as a new family into your school or center. You can have parents/guardians agree to policies and waivers, accept registration fees via credit card and track families through your enrollment pipeline.
Note
You can only create one form. Consider the enrollment process for your school and determine what kind of form would be best for parents to complete.
Important Update
Our new Registration feature allows you to create and send multiple forms to leads and existing students. See: Creating Registration Forms for more information.
Review the additional information section at the bottom of this article for registration form best practices.
Step 1: Create the Form
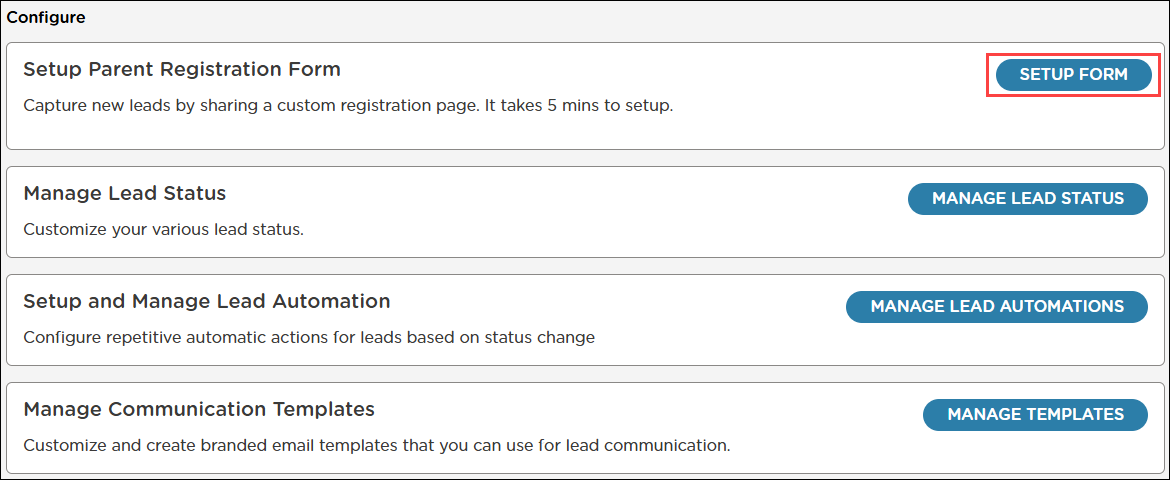
Go to Enrollment > Configure.

Click Setup Form.
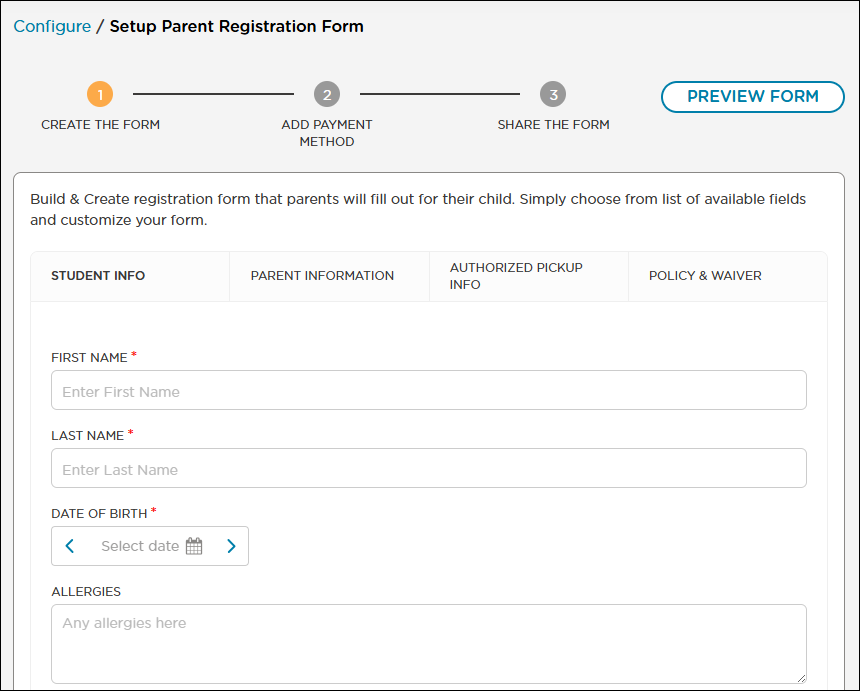
The registration form contains four tabs: Student Info, Parent Information, Authorized Pickup Info and Policy & Waiver. The form includes default fields that you can edit, keep or remove.
Note
Default fields cannot be restored once deleted.
Some fields are editable, but cannot be deleted. Hover over a field and click Edit ![]() or Delete
or Delete ![]() to edit or delete it (if applicable).
to edit or delete it (if applicable).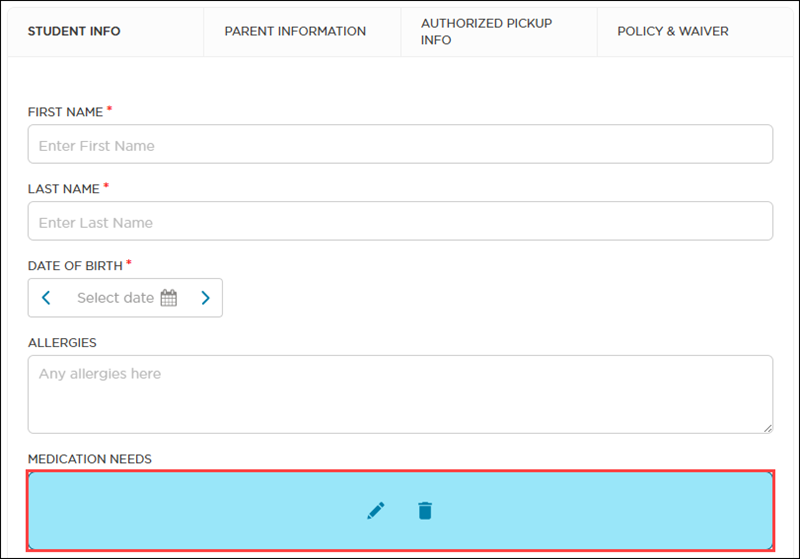
Add and Organize Fields
When creating a custom registration form, select from a variety of field types to collect the information needed for your enrollment process.
Scroll to the bottom of the page, then click Add Field.
Select the appropriate field type.
Enter the field details.
Custom registration forms for both lead and active student workflows include a drag-and-drop tool for reordering fields. This allows you to organize questions in the order that best supports a clear and intuitive registration experience.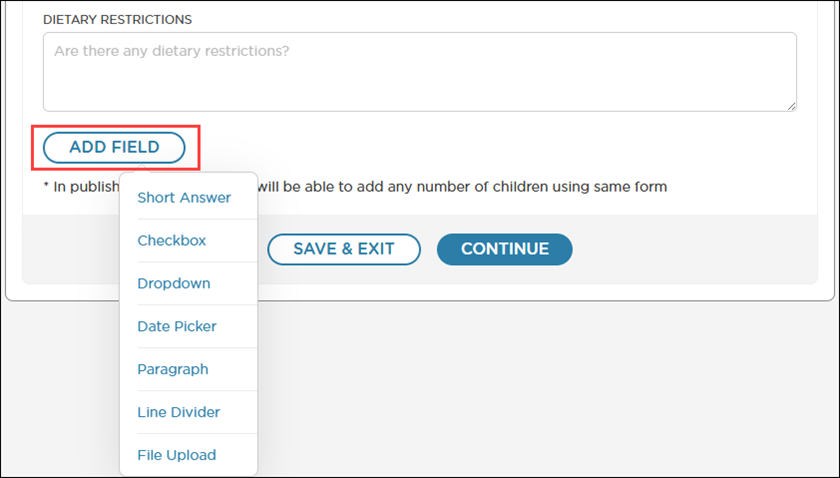
Here is an example of the Short Answer field type.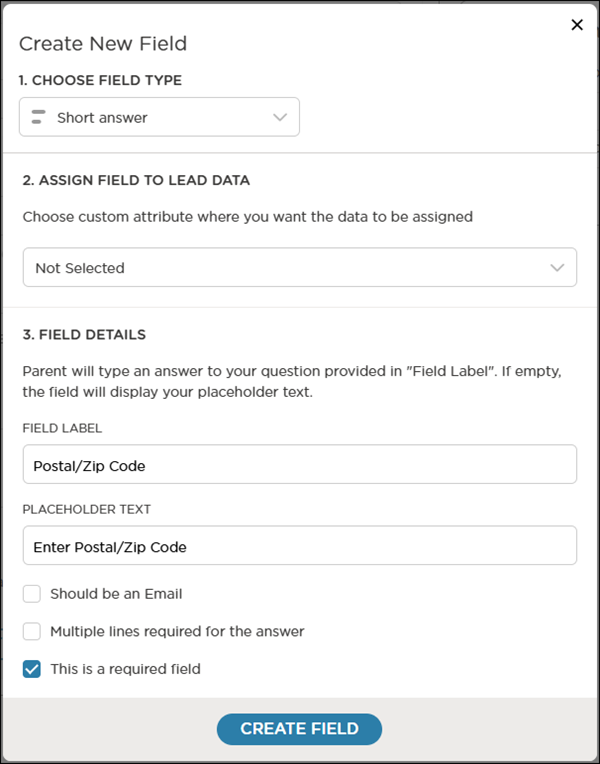
Choose Field Type
You can select a different field type if needed.
Assign Field to Lead Data
Map the field to data in the lead profile.
Field Details
Procare Online displays a brief description explaining how the field type works.
Field Label - enter the question you want parents/guardians to answer or the information you want them to provide.
Placeholder Text - enter the text to display in the field prior to the parent/guardian typing the answer. The text can be instructions or an example of the type of information they should enter.
Additional options:
Should be Email - require parents/guardians to answer in an email address format.
Multiple lines required for this answer - make the answer text box larger.
This is a required field - require parents/guardians to complete the field before they can continue to the next step on the form. Required fields have an asterisk next to the field label.
When you have finished editing the field, click Create Field to add it to the form.
Preview Form
Click Preview Form see how the form will look to parents/guardians once it has been published. Procare Online opens the form in a new tab or window, depending on your browser’s settings.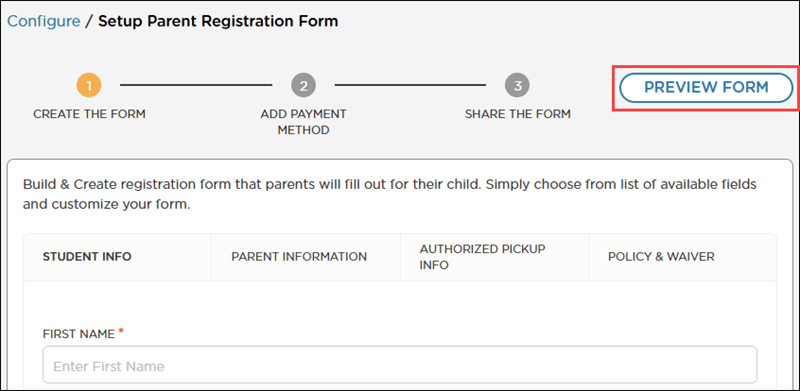
Your school logo and information (from School Settings > School Profile) displays at the top of the form.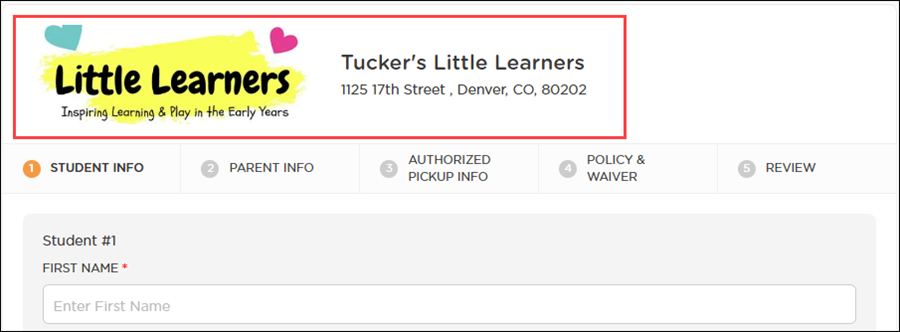
Save & Exit
If you want to complete the form at a later time, click Save & Exit to save your progress.
To continue working on the form after saving it, go to Enrollment > Configure, then click Setup Form.
Edit the Form
Once the form is published, you can edit it at any time by clicking Edit ![]() .
.
Note
Once changes have been made to a published form, you must click Publish Form to save the changes (see step 3).

Click Continue to continue to Step 2.
Step 2: Accept Payments
Once you have finished creating the form, continue to Step 2 to collect fees online as part of the enrollment process.
If you do not want to collect a registration fee when the form is submitted, select No and continue to Step 3.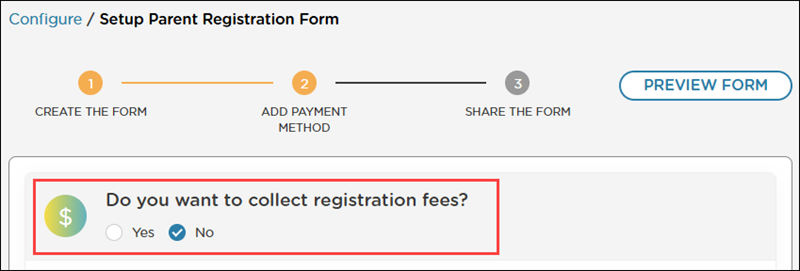
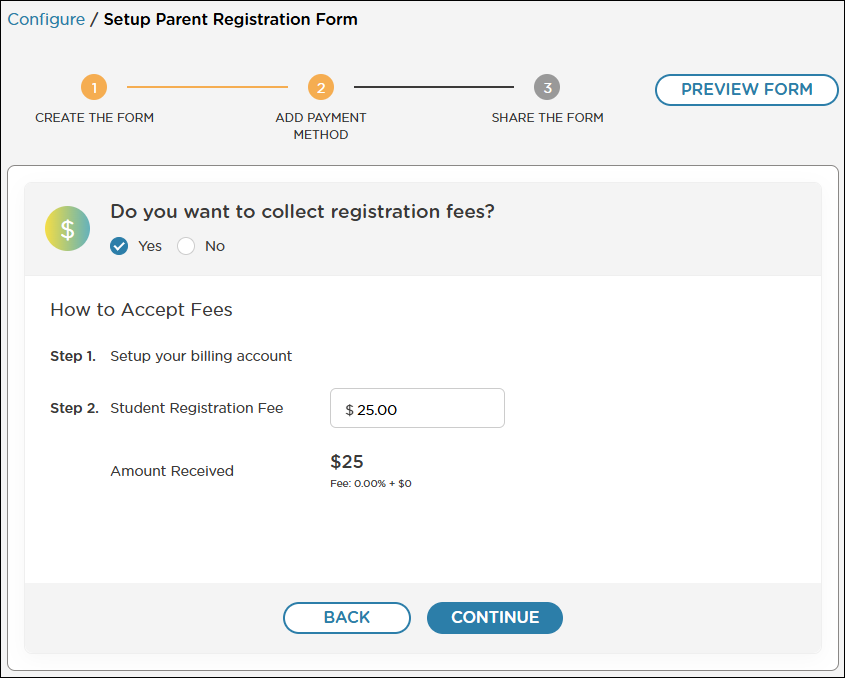
To collect a registration fee when parents/guardians submit the form, select Yes.
Key Points when accepting payments:
To accept payments, your school must have billing set up. Set up billing by clicking Setup Billing (see below for instructions) go to Billing > Accounting.
Parents/Guardians can only pay by credit/debit card; there is no option for entering checking/savings account information.
The Student Registration Fee is collected per child. For example, if a parent/guardian is registering three children and the Student Registration Fee is set to $25, then the school will collect $75.
Set Up Billing
If you want to collect registration fees and your school does not have billing set up, follow the steps below or go to Billing > Accounting and complete the setup.
Note
Once you set up billing in Enrollment > Configure, you must complete the billing set up in Billing > Accounting to accept online payments for regular invoices.
Click Setup Billing.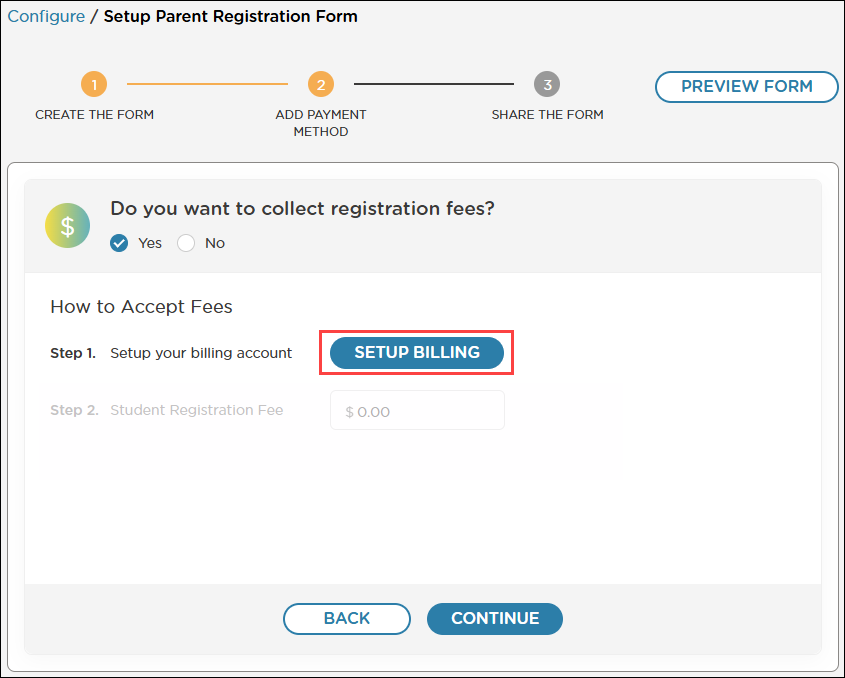
Complete the fields in the Setup your Billing Account window, then click Save & Continue.
Once billing is configured, continue setting up your registration fees. Registration fees are collected per child..png)
Step 3: Share the Form
Click Publish Form at the top or bottom of the window. Once published, you can decide how you want to share the form.
Once parents/guardians complete the form, you can view each child/family profile in Leads.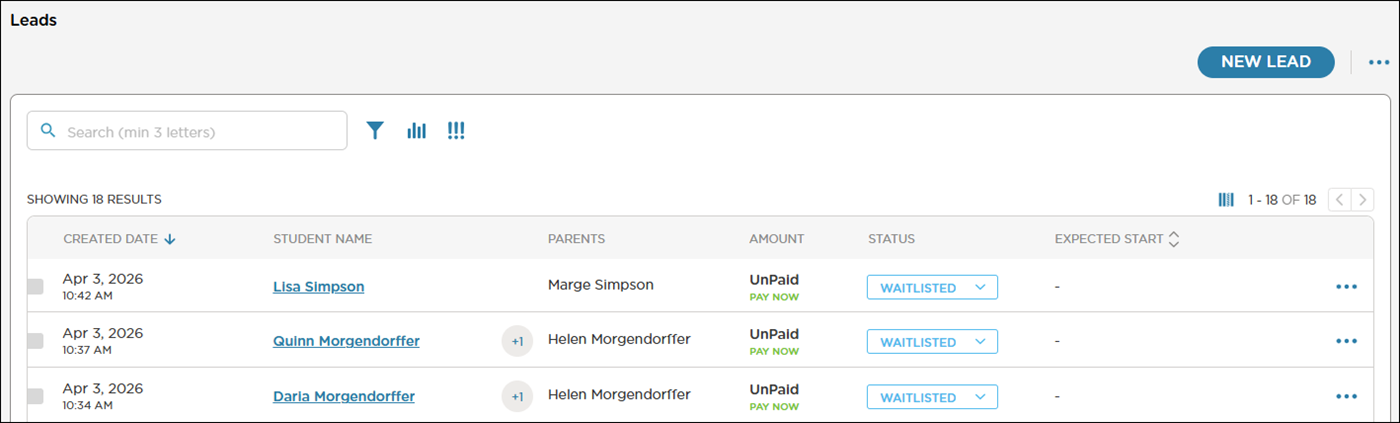
Additional Information:
The registration form contains default fields that map to student profiles when a lead is enrolled.
Note
You can delete some default fields, such as Medication Needs and Relation, but you cannot reset the form to restore these fields. Ensure you do not require these fields before deleting them.
To collect a parent’s/guardian’s signature, create a field that parents/guardians must enter their name into for a digital signature.
Any registration fee payable with submission of the registration form is per child.
Custom fields added to the registration form do not map to the enrolled student profile. These responses and information will remain accessible through students' lead profiles.