Navigation Changes
The Leads and Registration sections are now under Enrollment.
Create automated emails and action items when a lead status is updated.
Do you find yourself having to send the same email over and over when a lead changes from Waitlisted to Admitted? Use our lead automation feature to set up emails or action items ahead of time. Once you are done, these emails and tasks will be generated automatically by our system.
Set Up Automations
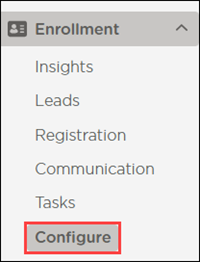
Go to Enrollment > Configure.
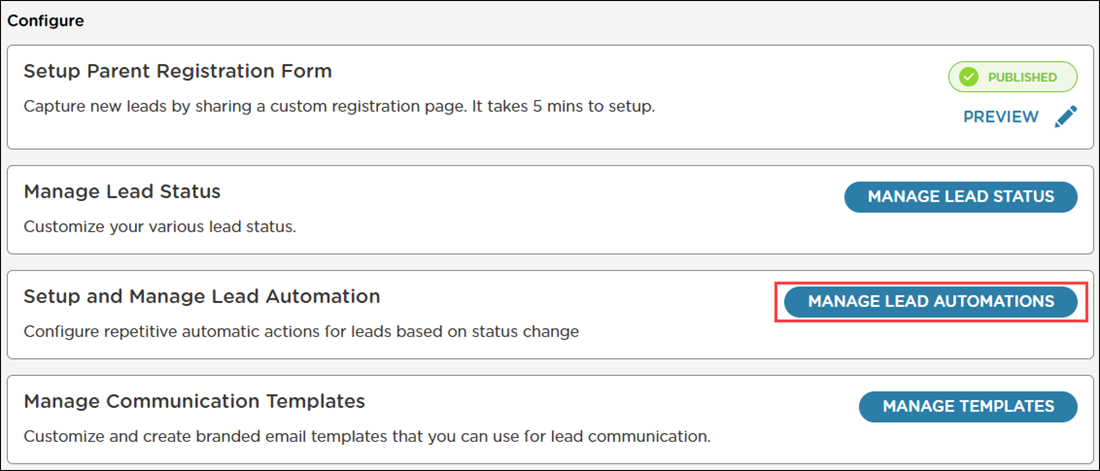
Click Manage Lead Automations.
Click Create Automation.
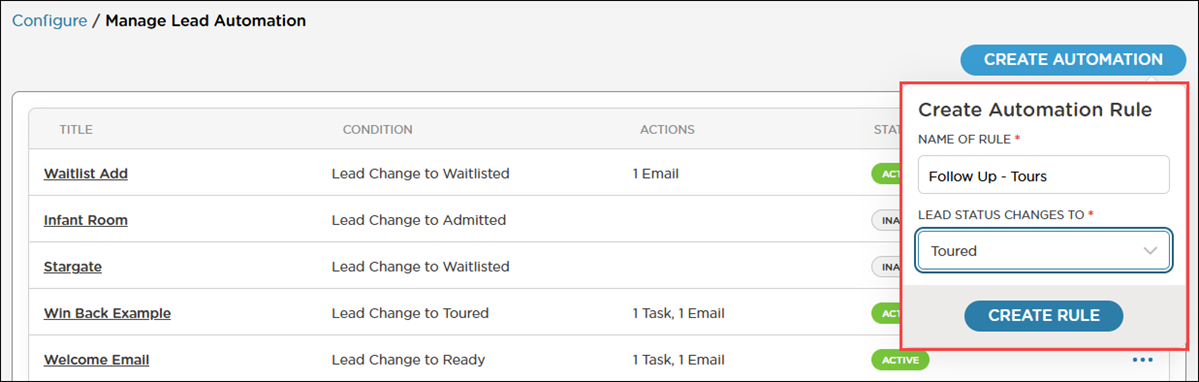
Complete the fields.
Enter a name for the rule.
Select a status to change the lead to.
In this example, the name of rule is "Follow Up - Tours" and automated tasks are set to occur after a lead's status changes to "Toured".
Click Create Rule.
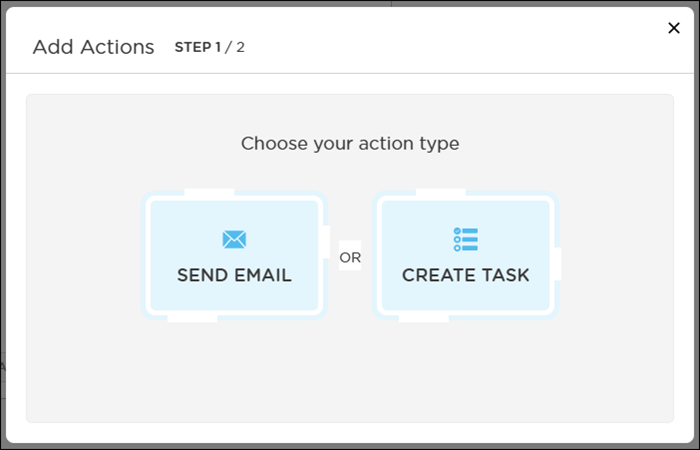
Click Add Action to determine what should take place when a lead's status changes to your selected status.
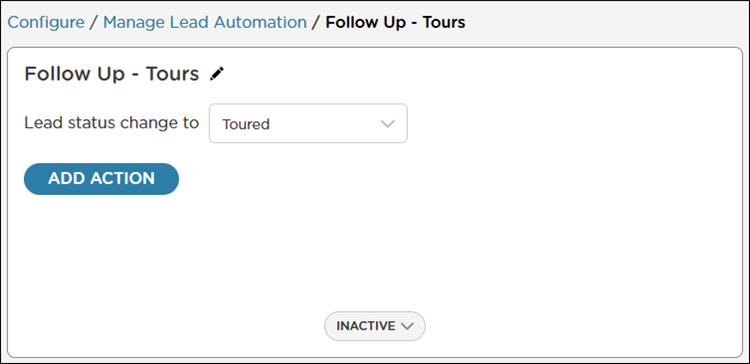
Choose whether you want to send an email or create a task.
Send Email
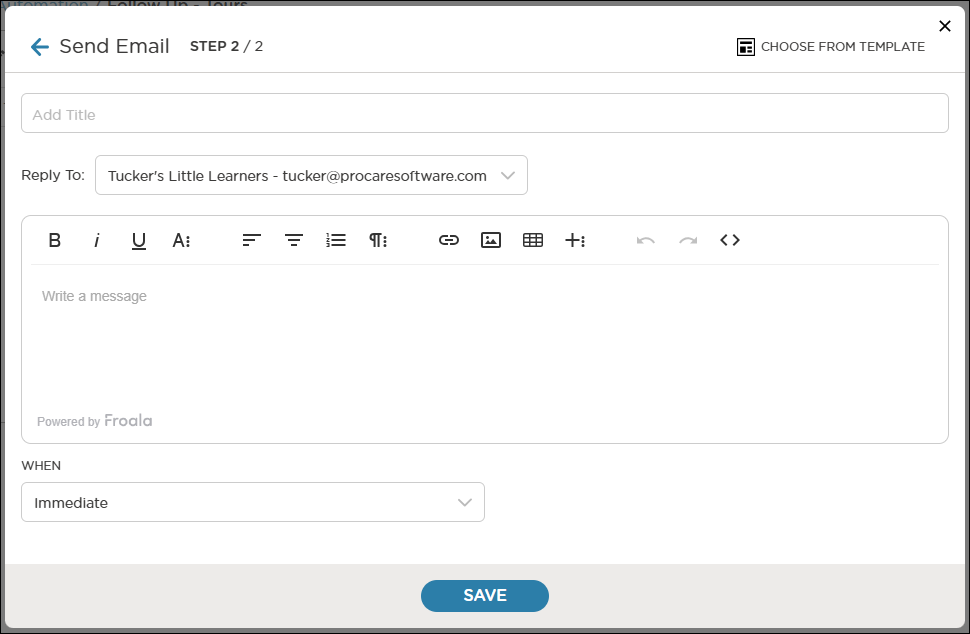
When sending an email, you have the option to create a new email message or choose from a template.
Enter a subject in the Title field.
Select which staff member’s email the message recipient can reply to.
Use the When drop-down to select how long it will take to send the email after the status changes.
Select Immediate to send the email immediately after the lead's status changes.
Select the number of days to send the email after the lead’s status changes. You can select between 1 and 30 days. For example, if you select 1 day, the email will send one day after the lead's status changes.
Click Save. If you are finished adding actions, skip to Activate the Task.
Create Task
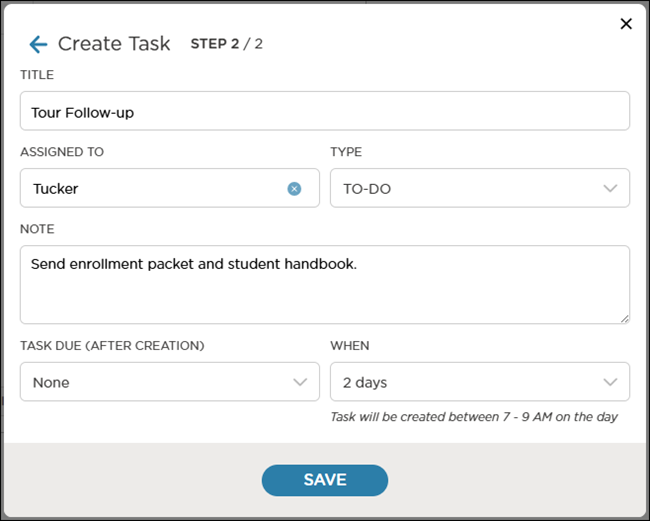
Creating a task works similarly to when you create a manual task on the Tasks page.
Complete the fields.
Field
Description
Title
Enter a name for the task.
Assigned To
Select a staff member to assign the task to.
Type
Select whether the task is a call, email or to-do.
Note
Enter any additional details about the task.
Task Due (After Creation)
Select the number of days to set the due after the task is created.
When
Select the number of days to create the task after the lead’s status changes. You can select between 1 and 30 days.
Click Save.
Edit the Rule
Once your email(s) and/or task(s) have been created, review them to ensure that each item occurs in the correct order.
Click Edit
 next to the rule name to rename the rule
Click Edit
on an action to modify itTo delete an action, click Delete
 , then click Yes, Delete to confirm that you want to delete the action
Note
Deleting an action cannot be undone. An action cannot be recovered once it has been deleted.
Activate the Rule
To activate automated tasks, click Inactive, then select Active.
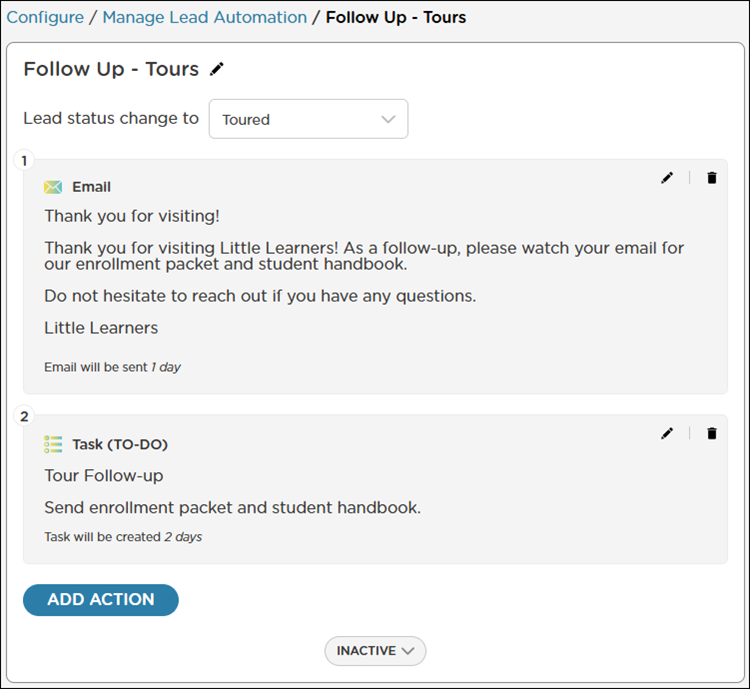
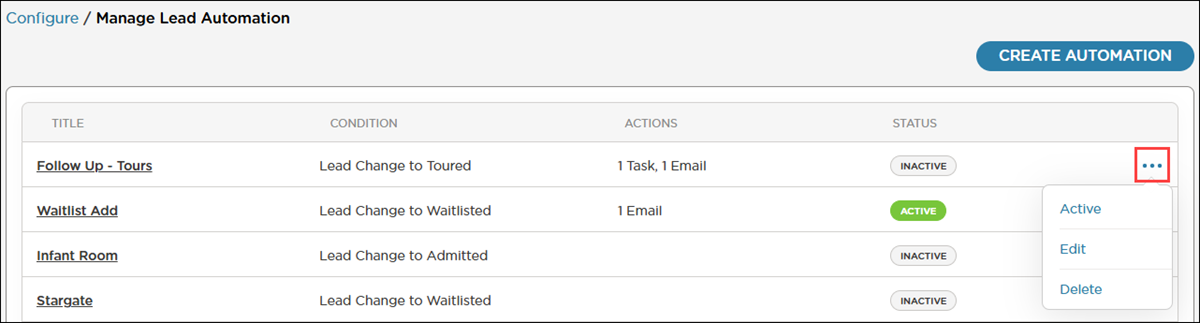
You can also activate rules on the Manage Lead Automation window by clicking More Actions  , then selecting Active.
Note
Each item in the task automation will be generated as long as the lead remains under that status.
As soon as the lead changes from that particular status to a new status (for example, moving from Toured to Enrolled), the lead will switch from the Toured automated tasks to the Enrolled tasks. All tour-related emails or actions will stop.