If your school requests documentation, you can upload it directly through the online Parent Portal using the steps below.
Upload Documents
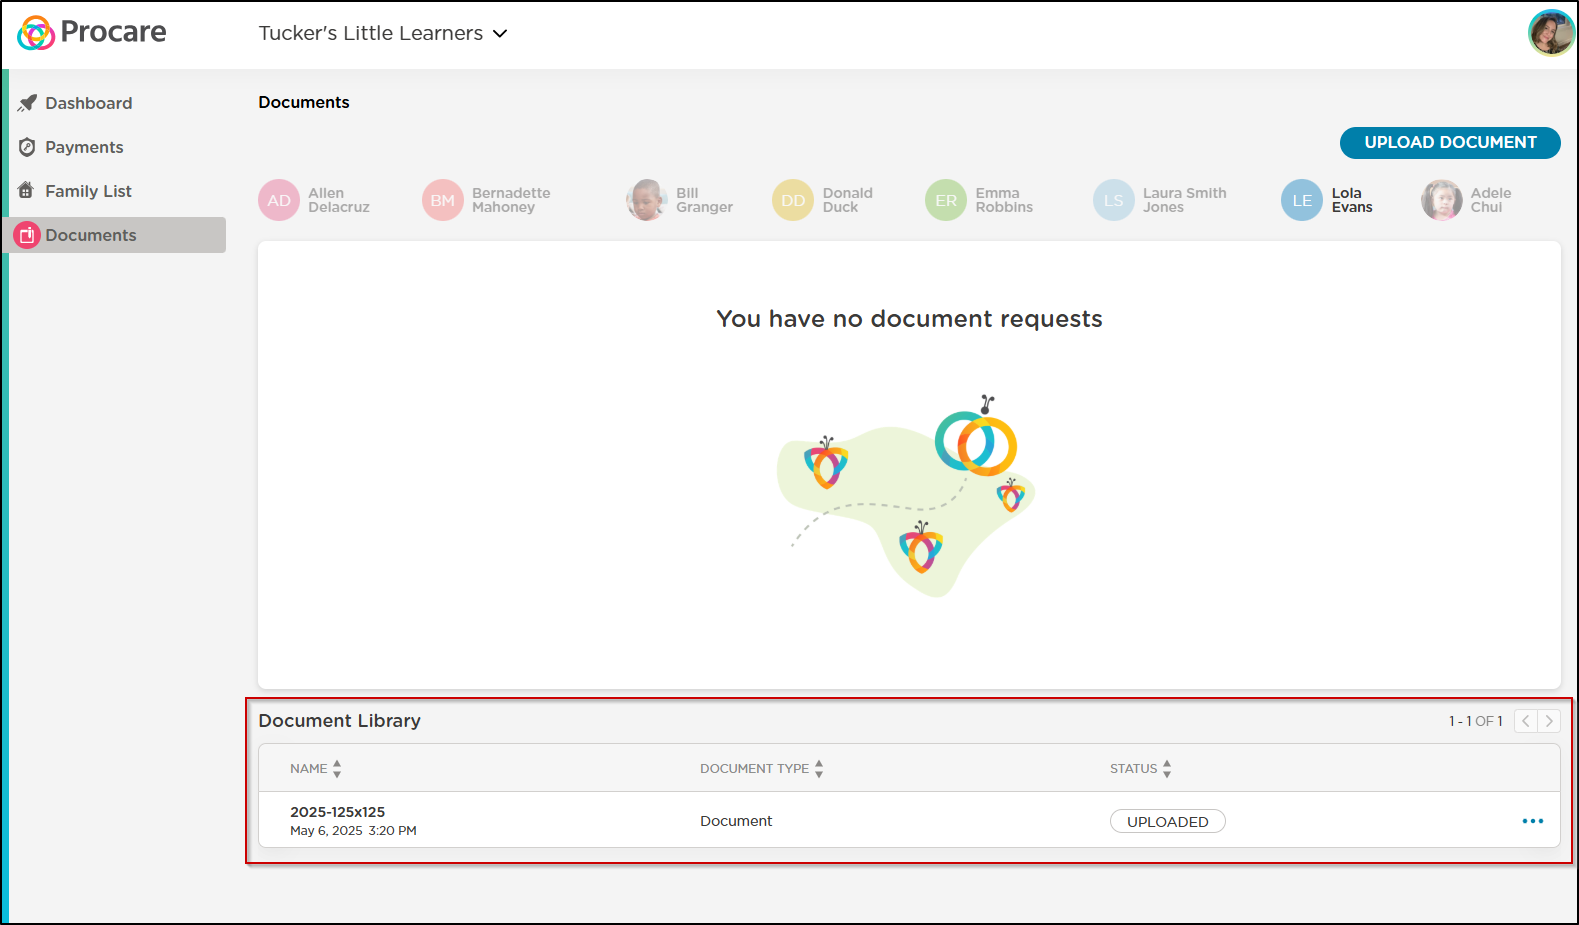
Log into the Parent Portal website and click Documents.
Then click Upload Document.

Choose your document to upload.

Once your document has been uploaded, you can preview or download it from the Document Library and the school/center can view it from your student's profile.
Note
Your center’s staff will be notified automatically when you upload a document.
Edit Documents
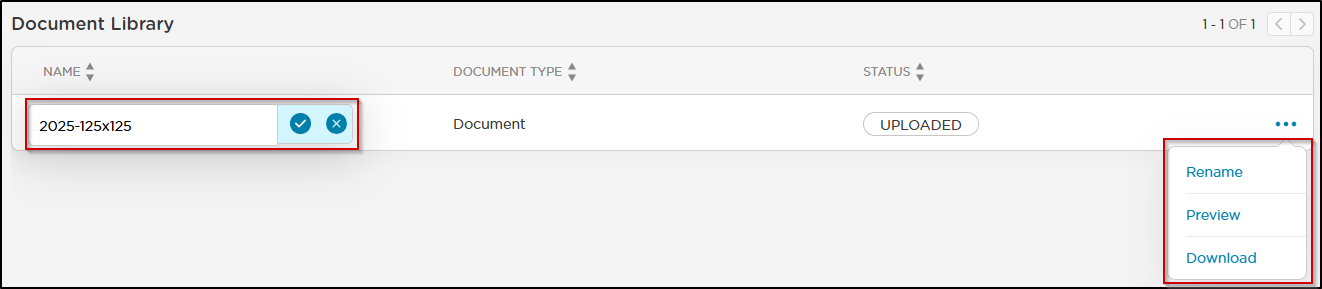
Documents added by parents/guardians can be edited. Click the more actions icon, then select rename to change the document name, and save the changes. The center will be able to see the updated name.
Sign and Return E-Documents
If a center has sent a document request, it will be visible in your parent portal.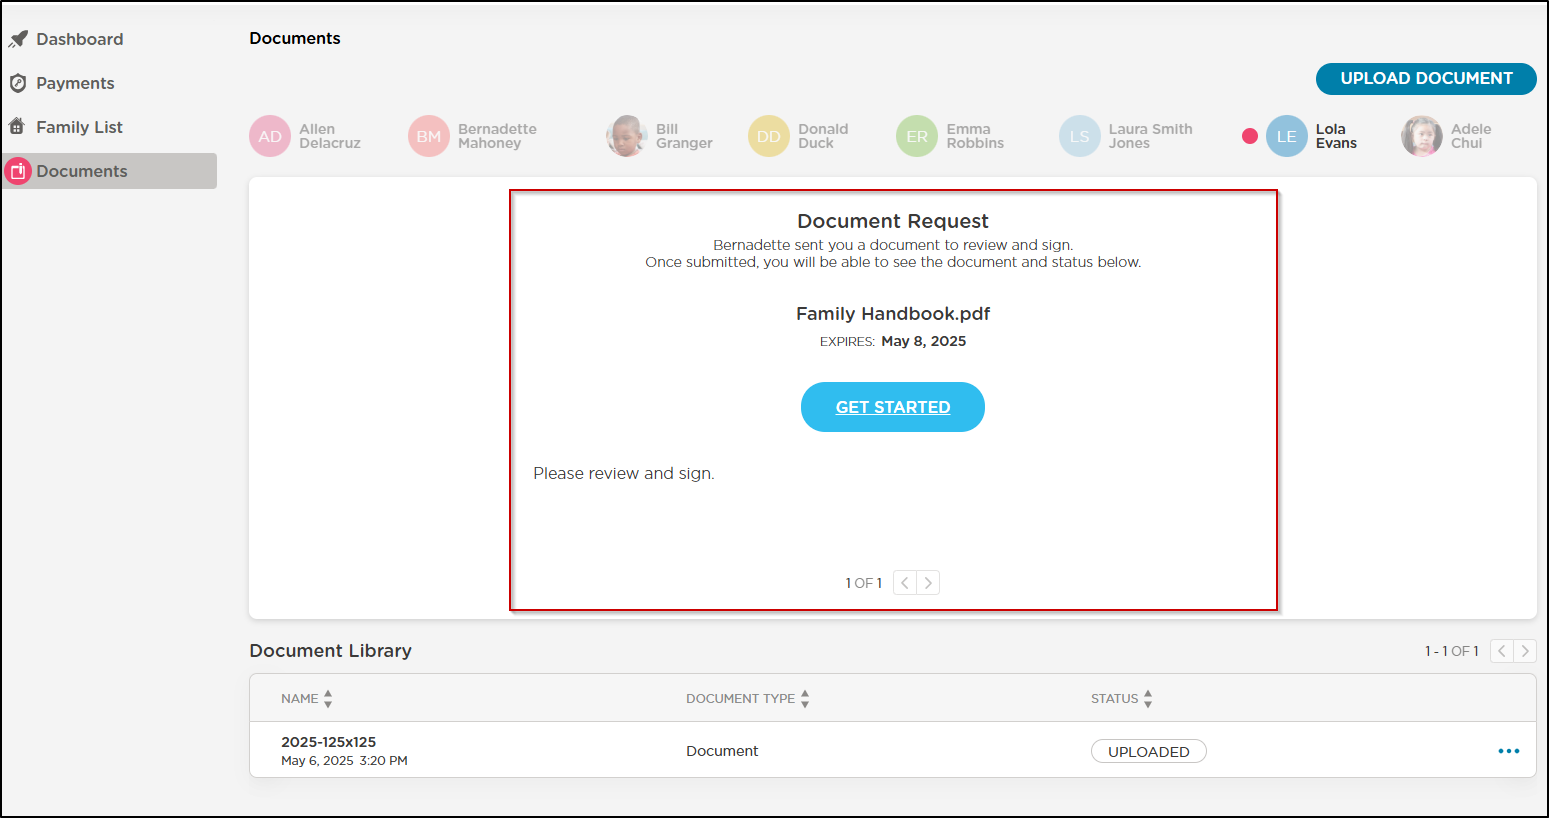
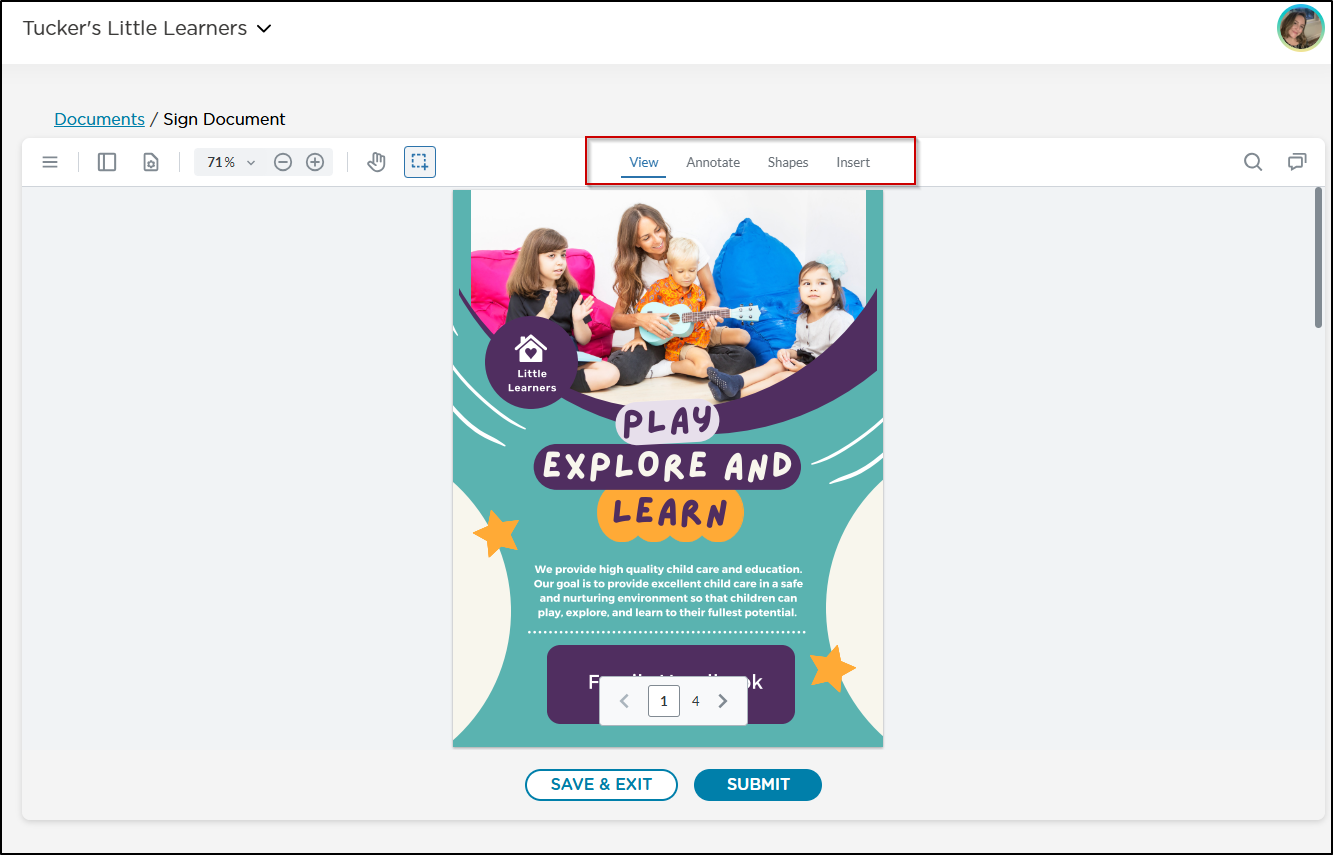
The Get Started option allows you to view the document, annotate it, add your signature, and more. If the center has requested acknowledgment, such as a signature, you can include it and then submit the document.
The status will change to Awaiting Approval, and the center will be notified that you have returned the document.
Once a document is reviewed and either approved or rejected, its status will update accordingly. The E-document will then be viewable in the parent portal.