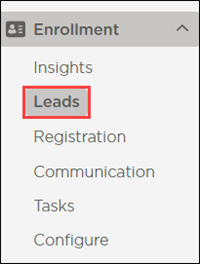
Navigation Changes
The Leads and Registration sections are now under Enrollment.
Filtering and searching through your leads is an important step to effectively manage your enrollment pipeline. Here are some helpful ways to manage your leads.
Search for Leads
Go to Enrollment > Leads.
Enter your search criteria or click in the search bar to display a list of fields to search by.
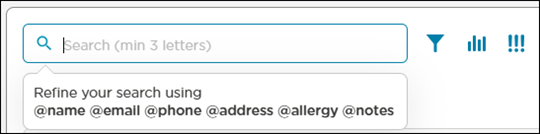
You can narrow down your search criteria by using the following:
the @ symbol
the field that you are searching for
the search term
For example, to search for a phone number, enter ‘@phone (800)964-1729’.
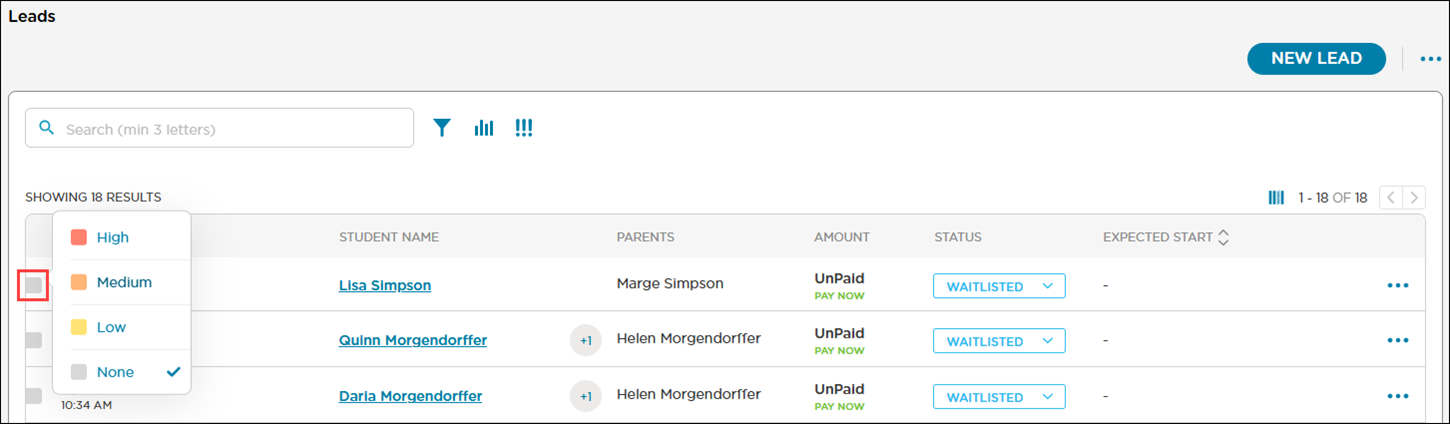
Assign a Priority Level
To assign a priority level to each lead:
Go to Enrollment > Leads.
Select the List Priority icon to the left of the lead's name.
Select a priority level to assign to the lead. The List Priority icon changes to the color associated with the priority level.
Filter by Priority Level
Click Priority Filter
 .
.Select a priority level to filter by. The list updates to display all leads with the selected priority level.
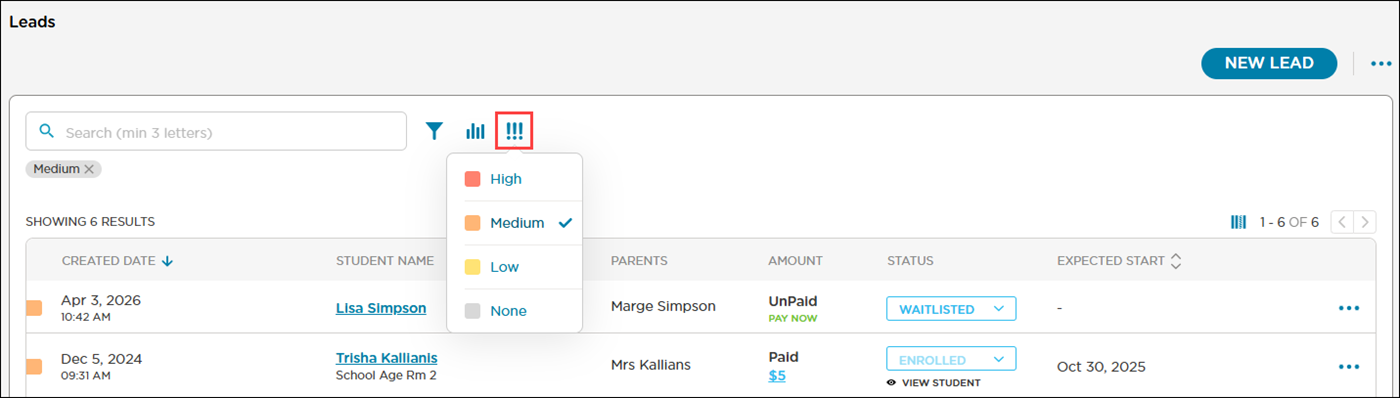
Note
You can only filter by one priority level at a time.
To remove the filter, select the priority level from the filter again or click ✖ on the filter label above the list.
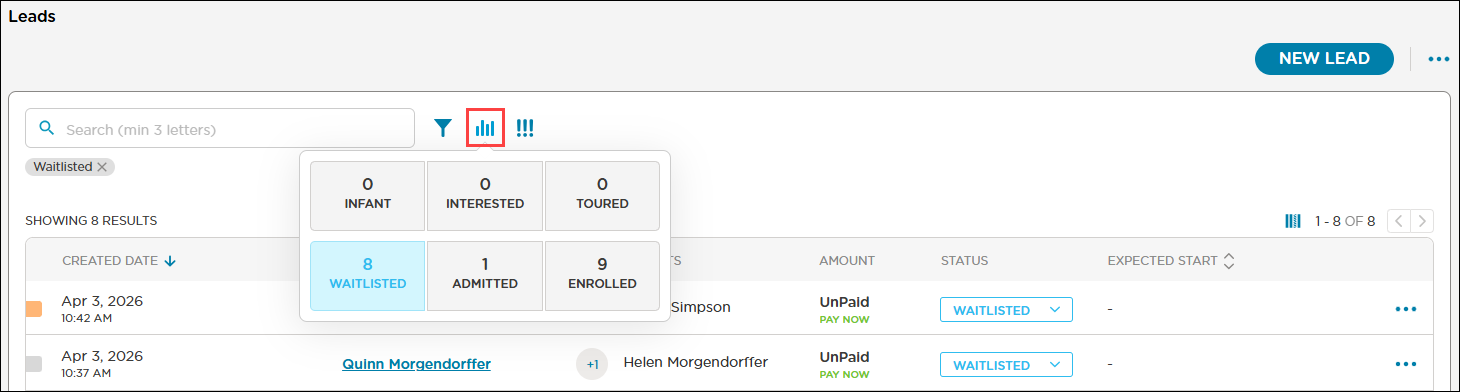
Filter by Enrollment Status
You can filter the leads to see which leads are at which step of the enrollment process.
Click Enrollment Status Filter
 .
.Select a status to filter by. The list updates to display all leads with the selected status.
Note
You can only filter by one status at a time.
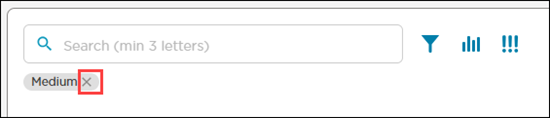
To remove the filter, select the status from the filter again or click ✖ on the filter label above the list.
Additional Filtering
You can specify several options for filtering students such as by room, age and start date.
Click Filter
 .
.
Select or enter your filter criteria.
Click Apply. The list updates to display all leads with your selected filter criteria.
Note
To remove the filter, click ✖ on the filter label(s) above the list.